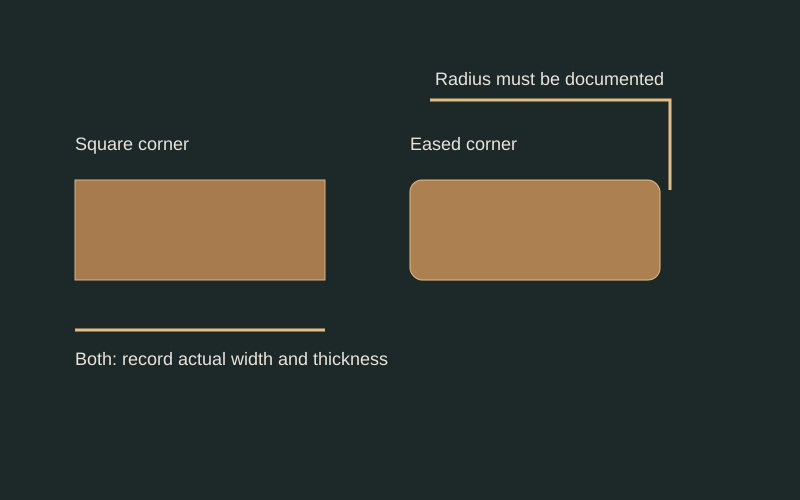
- Square and eased corners differ at the edge, even when overall dimensions match.
- A family name does not specify an edge radius.
- Drawings exaggerate edge treatment for comparison; no milling size is implied.
Start with the intended face
Square-edge describes an edge arrangement, not the entire product. Mark which broad face will remain visible and whether both faces must meet appearance expectations. Record eased corners, surface texture, and any underside relief separately. A small drawing prevents the phrase square-edge from being mistaken for a promise of perfectly sharp corners.
Name every size
Write the ordered size beside the measured thickness and width rather than replacing one with the other. NIST distinguishes nominal descriptions from actual lumber dimensions; its softwood guidance is background, not a hardwood profile specification. For the hardwood order, obtain the actual finished dimensions and the supplier's stated tolerances in writing.
Draw the installed joint
Place two board outlines beside each other and label the installation joint as a separate design decision. A square edge does not establish spacing, drainage, ventilation, support layout, or fastening. Refer those items to the project detail. Do not carry a joint dimension from an unrelated deck or interior floor into the order.
Review the sample deliberately
Compare the sample with the drawing from both ends. Note whether the edge is straight, rounded, chamfered, or locally damaged. Photograph the sample label and face together. If a corner treatment matters visually, describe the acceptable appearance using an agreed sample rather than an improvised measurement taken from a weathered board.
Release a traceable instruction
Attach the approved cross-section to the purchase record and identify its revision. Keep appearance approval separate from dimensional acceptance. Ask the receiving person to retain one labeled offcut and check multiple boards before installation, especially if bundles carry different lot identifiers. Resolve a discrepancy while the material can still be compared with its packaging.
Practical checklist
- Identify the exposed face and corner treatment.
- Record actual dimensions and the agreed tolerance source.
- Keep installation spacing in the project detail.
- Match received bundle labels to the approved sample.
Worked example
Hypothetical example: a porch order describes square-edge hardwood, but the approved sample has visibly eased corners. The revised order includes that sample identifier and a cross-section, avoiding an assumption that the replacement must have sharp corners.
Limits of this guide
This workflow describes purchasing and inspection. It does not establish structural suitability, fastening capacity, or a universal movement gap. A measured sample documents one piece; it does not establish an entire shipment's tolerances.
Continue the decision
Keep face width and installed coverage separate
Measure a hardwood profile so another person can verify it
Build a profile submittal that closes the missing details
Profile explorer