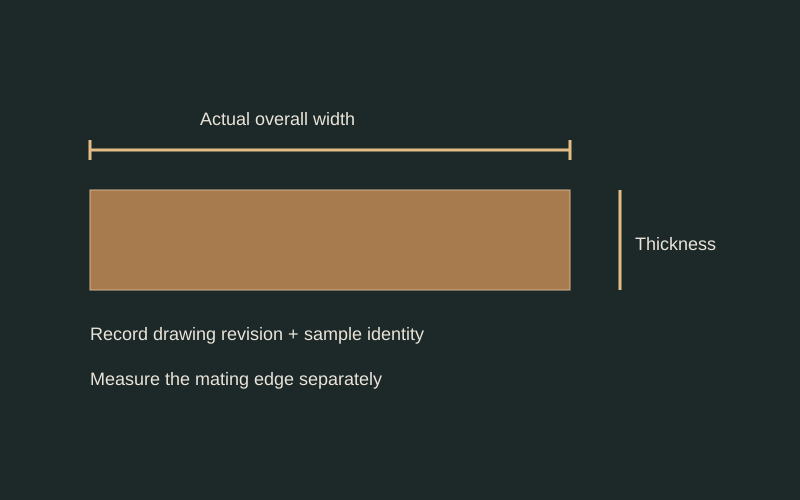
- The face alone does not identify the mating geometry.
- Record actual width and thickness separately from the nominal name.
- Replacement and submittal review also require edge detail, tolerances and a drawing revision.
Choose and label the sample
Assign each piece an identifier before measuring it. Record whether it is new stock, an unused offcut, or material removed from service. Include the known species, product description, bundle label, and finish condition without filling unknown fields from appearance. An existing board can be valuable matching evidence even when its original machining dimensions are unknown.
Choose the reference surfaces
Mark the exposed face and one reference edge on an end-view sketch. Measure all feature locations from those references. For a groove or tongue, capture both its size and its location within the section. This prevents a common mismatch: two samples with similar groove openings whose grooves sit at different heights relative to the visible face.
Record how you measured
Identify the instrument, units, and practical reading resolution. Check the instrument according to its instructions and use contact pressure that does not visibly compress a fragile edge. Photograph the jaws or rule at a representative measurement. If a feature is inaccessible, label it unmeasured instead of using a confident number derived from a photograph.
Preserve variation
Take readings at multiple locations and retain the individual values with their positions. Separate intact sections from damage, finish buildup, and worn edges. USDA describes wood dimensions in relation to moisture; record the sample condition and measurement date accordingly. Do not convert a field reading into an original manufacturing tolerance without evidence from the product specification.
Package the record for comparison
Combine the annotated section, readings, overview image, end image, and label image in one record. State the decision the record supports: replacement matching, receiving inspection, or a question to the mill. Include unresolved features prominently. A reader should be able to compare a proposed sample with the original without calling the measurer to interpret unlabeled numbers.
Practical checklist
- Assign a sample ID and mark its visible face.
- Record feature size and position separately.
- Retain individual readings and measurement locations.
- Label unknown and inaccessible dimensions honestly.
Worked example
Hypothetical example: an installer sends a groove measurement without showing which face was used. A second record marks the exposed face, includes the groove offset, and reveals why a proposed replacement would not sit flush.
Limits of this guide
Field measurement is not laboratory certification. Weathering, coating, damage, and moisture condition can influence the observed section. Use the applicable product drawing for acceptance tolerances and obtain professional review for structural modifications.
Continue the decision
Match a replacement profile using a retained sample
Check a grooved edge against its intended clip
Build a profile submittal that closes the missing details
Profile explorer